ClickProbe — Closed-Beta Onboarding Guide
This guide is in English. If you prefer German, write us at beta@clickprobe.ai — we're equally happy in DE or EN.
What is ClickProbe?
- An AI that tests your web app like an intelligent human tester would — it looks at screenshots, guesses what UI elements do, clicks them, and reports bugs without knowing your code.
- Cloud AI, local browser. The exploration intelligence runs in our EU cloud; a small binary on your machine controls the browser. Your code and target URLs never leave your network.
- Pay-as-you-go. You pre-load credits and pay only for actual Anthropic usage + a small session fee. No subscription required.
Before you start — beta pricing
As a closed-beta participant you receive €10 in free exploration credits, pre-loaded to your account. This covers roughly 200 short exploration sessions — more than enough to evaluate ClickProbe seriously.
There is no credit card required to use these pre-loaded credits. If you wish to top up, you can do so at any time from the dashboard (Cards via Stripe).
Step 1 — Create your account
- Open clickprobe.ai/signup in your browser.
- Enter your business email address.
- Choose your sign-in method:
- Magic link (recommended) — we email you a one-click link; no password needed.
- Google OAuth — click "Continue with Google" if your work email is a Google Workspace account.
- Click the link in your email (magic link only). You land on the ClickProbe dashboard.
Beta note: Your account will show €0 balance initially. Ingo will grant your €10 credit within one business day of you confirming your account via email to beta@clickprobe.ai. If you need it sooner, just say so.
Step 2 — Install the ClickProbe Proxy
The proxy is a single static binary (~15 MB). It runs on your machine, controls a local Chromium browser, and connects to our cloud over a single outbound WebSocket (port 443). No inbound firewall changes needed.
Download
Get the download link from Ingo after account confirmation — Ingo will send you the direct binary link for your OS. (Public release distribution is being set up; for the first beta cohort, Ingo provides the download link directly.)
| OS | File |
|---|---|
| macOS (Apple Silicon) | clickprobe-proxy-darwin-arm64 |
| macOS (Intel) | clickprobe-proxy-darwin-amd64 |
| Linux (x86-64) | clickprobe-proxy-linux-amd64 |
| Linux (ARM64) | clickprobe-proxy-linux-arm64 |
| Windows (x86-64) | clickprobe-proxy-windows-amd64.exe |
Each binary ships with a SHA256 checksum — verify before running:
# macOS / Linux
sha256sum --check SHA256SUMS
# or: shasum -a 256 clickprobe-proxy-darwin-arm64
Install (macOS / Linux)
mv clickprobe-proxy-linux-amd64 /usr/local/bin/clickprobe-proxy
chmod +x /usr/local/bin/clickprobe-proxy
clickprobe-proxy
The proxy opens a browser tab for authentication. Sign in with the same account you created in Step 1.
Install (Windows)
Move-Item clickprobe-proxy-windows-amd64.exe C:\Users\you\bin\clickprobe-proxy.exe
& "C:\Users\you\bin\clickprobe-proxy.exe"
Verify it's online
After authentication, your terminal shows:
ClickProbe Proxy vX.Y.Z — connected
Account: your@email.com
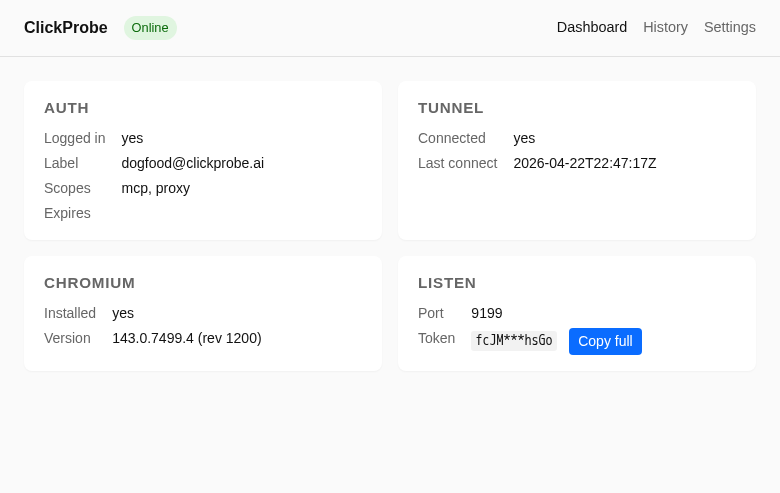
Proxy ID: prx_xxxxxxxxxxxxxxxxThe dashboard at app.clickprobe.ai → Machines shows the proxy as Online (green dot).
Step 3 — Run your first exploration session
- Go to app.clickprobe.ai → Projects → New Project.
- Enter:
- Name: anything descriptive (e.g., "My App — Staging")
- Target URL: the full URL of the web app you want to test
- App description (optional but recommended): 1–3 sentences about what the app does. The more context, the more targeted the bug reports.
- Click Save, then Start Exploration.
- Choose your proxy machine and set a budget limit (start with 5–10 minutes).
- Click Launch — the AI begins exploring.
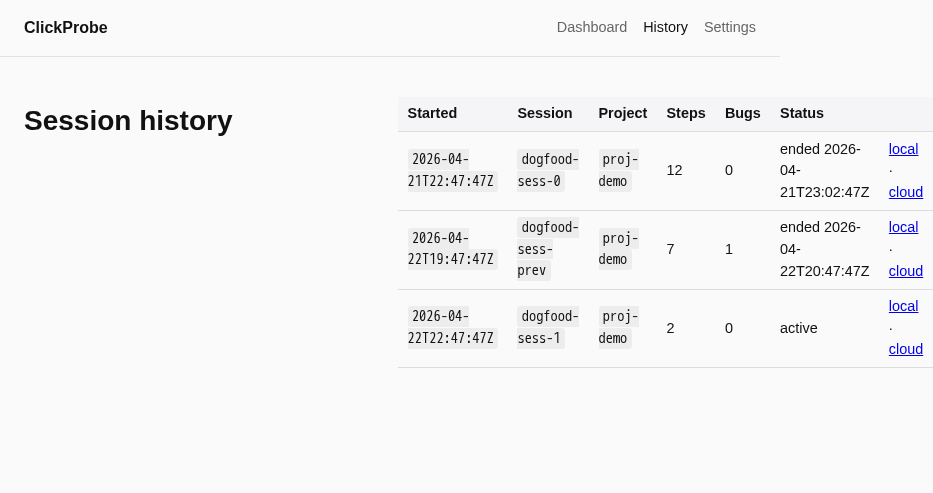
Bugs stream into the Bug Inbox (left nav) as they're found.
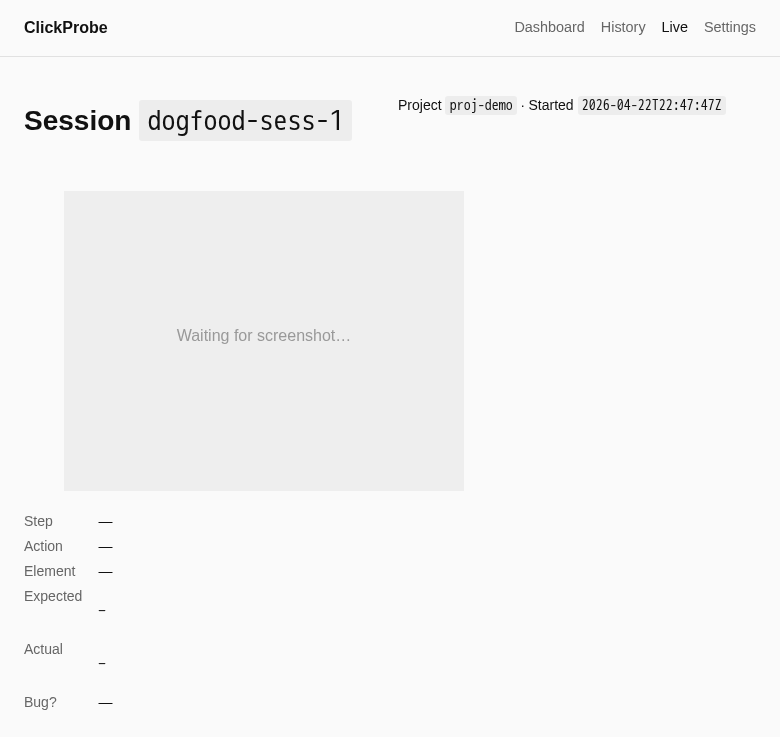
Watching a session locally
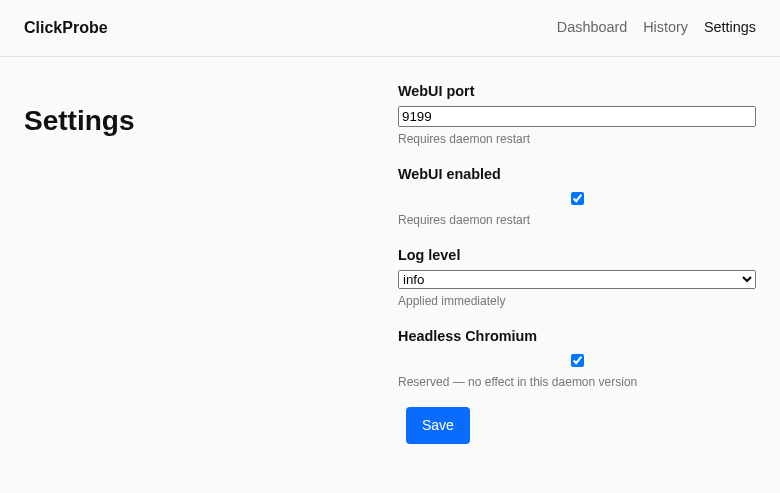
Each ClickProbe proxy ships with a local WebUI for watching sessions in real
time, without needing to log in to the cloud dashboard. It binds to
http://127.0.0.1:9100 (loopback only — never externally
reachable) and is protected by a per-startup random token.
Open the WebUI
clickprobe-proxy webuiThis prints the URL + token and opens your default browser.
What you'll see
<data-dir>/config.yaml.Sharing a diagnostics bundle
If the proxy misbehaves, email beta@clickprobe.ai with the
clickprobe-diag.zip from the Diagnostics page. It contains
redacted logs, a redacted copy of your config (the WebUI token is
stripped), current state, and version info.
Step 4 — Sign the AVV (Data Processing Agreement)
Under GDPR, because ClickProbe processes data from your users' web sessions on your behalf, kenaro GmbH acts as a data processor. We need a signed Auftragsverarbeitungsvertrag (AVV / DPA) before you handle any personal data in your sessions.
- Download the AVV template: AVV template (DRAFT PDF)
- Fill in your company details on the signature page.
- Sign the document (Adobe Reader, DocuSign, or handwritten scan — any method works).
- Email the signed PDF to legal@clickprobe.ai — Subject:
AVV — [Your Company Name] - Ingo counter-signs and returns within 1 business day (Mon–Fri).
DRAFT notice: The current AVV template is pending final review by a DACH tech lawyer. Your signature is not void, but the reviewed version will be sent for re-signing within 30 days of lawyer sign-off.
Beta support
- Feedback, questions, ideas: beta@clickprobe.ai — in English or German.
- Response target: best-effort, we aim to reply within 1 business day (Mon–Fri). Not a contractual SLA; a beta commitment.
Legal links
- Terms of Service (EN) / AGB (DE)
- Datenschutzerklärung (DE) / Privacy Policy (EN)
- Impressum
- AVV template (DRAFT)
Quick-reference checklist
- ☐ Account created at clickprobe.ai/signup
- ☐ Email confirmed to beta@clickprobe.ai (triggers €10 credit grant)
- ☐ clickprobe-proxy downloaded, SHA256 verified, installed
- ☐ Proxy running and showing "Online" in the dashboard
- ☐ First exploration session launched
- ☐ AVV downloaded, signed, emailed to legal@clickprobe.ai
- ☐ Counter-signed AVV received from kenaro GmbH